

How to Make Red Velvet Cupcakes
Learn how to make red velvet cupcakes at home with this easy to follow recipe from the Hummingbird Bakery that’s perfect every single time!
They’re spongy, they’re moist and that cream cheese frosting is absolute perfection. These red velvet cupcakes never last more than a day in this house and I know you’re going to love them too!
You can also really easily convert this recipe to a layered cake of multiple sizes, so I’ll show you how to have your cake…and eat cupcakes too…
*Editors note* I’ve also done some pretty thorough research into the best food colouring to use to get that signature shade so scroll on down for my top pick!
This post contains affiliate links -ad- These links do not change the price you pay in any way, but xameliax makes a small commission from the sales. This commission helps us to keep creating helpful, delicious and free content like this, so thank you! Happy baking!

How to Make Red Velvet Cupcakes
– The Recipe
Prep time: 10 minutes
Bake Time: 20 Minutes
Cooling & Frosting: 15-30 Minutes
Total Time: 45-60 Minutes
MAKES: 16 Cupcakes or 12 Cupcakes + 4″ double layered cake
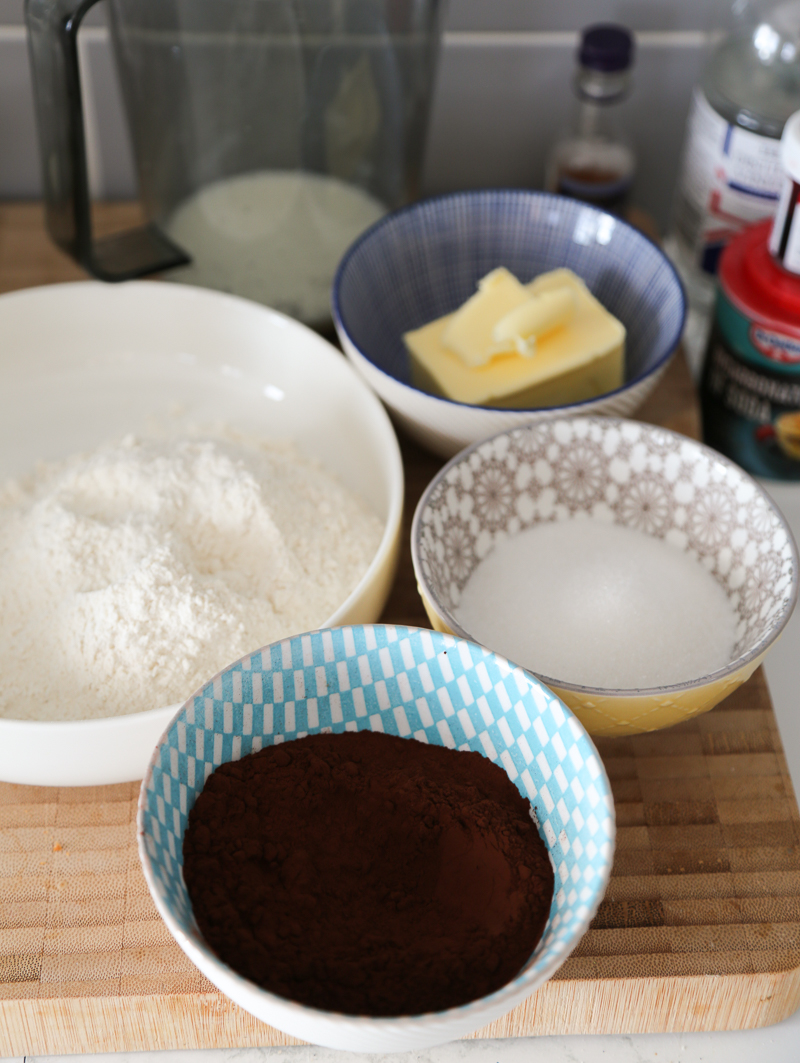
Ingredients:
For the cupcakes –
- 120g soft unsalted butter
- 300g caster sugar
- 2 large eggs
- 20g cocoa powder
- 1/2 Tub Wilton Red Food Colouring Gel (see below for tips)
- 3 tbsp Water
- 1 tsp vanilla extract
- 240ml buttermilk (see below for alternative)
- 300g plain flour
- 1 tsp table salt
- 1 tsp bicarbonate of soda
- 3 tsp white vinegar
For the Cream Cheese Frosting –
- 100g soft unsalted butter
- 600g icing sugar
- 250g full-fat soft cheese
How To:
- Preheat your oven to 180°C (fan 160°C or gas mark 4) and lay out your cupcake cases into a muffin tin. (If making a layered cake instead, lightly grease your cake tins)
- Beat together your butter and sugar until pale, light and fluffy – this usually takes a few minutes in a free-standing mixer or with an electric hand mixer.
- Beat in your eggs on a medium-high speed until well mixed
- In a separate bowl mix together the cocoa powder, food colouring, vanilla extract and 3 tbsps of water to make a paste. Mix this into your butter/sugar/egg bowl until well combined scraping down the sides as you go.
- Add in half the buttermilk and half the flour into your bowl and mix. Once mixed, add the second half of both and mix again.
- Add the vinegar, bicarb and salt before mixing on a medium speed for a couple more minutes until you have a smooth semi-runny batter.
- Divide into your cupcake cases (or cake tins) and bake for 20-25 minutes until a skewer comes out clean. Don’t over-bake, check at 20 minutes and take them out when cooked in the middle but your sponge still bounces back when pressed lightly. If making a 4″ cake, bake for 30-35 mins until the same bake is achieved.
Do you have an oven thermometer? We got 2 for less than £10 and they are the best way to ensure perfect bakes every time. Our oven was off by nearly 20oC and I had no idea!
This is a game changing little kitchen gadget!

8. Remove from the muffin tin and cool your cupcakes on a wire rack while you make your cream cheese frosting.
9. Beat together the icing sugar and butter before gently adding the cream cheese until a stiff mixture is formed. Try not to over beat here as you want the cream cheese to be pipe-able.
10. Pipe your frosting on top of the cooled cupcakes – this 2D flower nozzle is PERFECT for that classic cupcake swirl – and you’re good to go.
I like to slice a little bit of sponge off some of the cupcakes and crumble it over the piped frosting for a bit of extra colour!

Helpful Tips on How to Make Red Velvet Cupcakes
Buttermilk
If you don’t have any buttermilk or can’t find this in your supermarket then you can easily substitute your own! Simply measure out the same volume in full fat milk (whole milk) and squeeze in around half a lemon. Leave it to sit for 5 minutes and there you have it – buttermilk substitute that works just as well!
Food Colouring
I’ve tried a LOT of different food colouring in my time and let me tell you – they’re not all made the same! The only colouring I’ve found for red velvet that works consistently is this gel colouring from Wilton. As a general rule, the natural colourings don’t seem to hold their colour while baking so it’s artificial all the way. But this one doesn’t leave a nasty taste behind with it’s colour like others I’ve tried. It’s PERFECT for this recipe and I’d highly recommend grabbing some for your next bake.
Get it delivered for free to bake tomorrow with Amazon Prime!
(click here for a free 30 day trial if you’re not a Prime member yet)
Cupcakes Vs Layer Cakes
These cupcakes are super easy to convert into a layer cake too!
I like to use these mini 4″ cake tins for mine as they make the perfect sized birthday cake for two people. Just adjust your baking time to compensate for the larger surface area and don’t forget to grease your pan.
This recipe would also make an 8″ birthday cake too with 2 or 3 layers depending on how thick you’d like them to be.
To ice a layer cake you can pipe the frosting on top and in-between the layers or smooth it on with a palette knife!

Don’t forget to get one of these super helpful cupcake carriers for your new red velvet cupcakes too!
It’s deep enough so you don’t ruin your frosting, and it has other layers you can stack by clipping them on and off to hold up to 36 cupcakes!
Perfect for keeping things fresh, moving them around and also looking as lovely as the day you baked them
– BUY HERE –
MORE BAKING?
Try my Hazelnut Latte Cupcakes next!
Follow me on Instagram @xameliax for more easy baking recipes!

PIN THIS RECIPE

Let me know if you give these cakes a go and tag me in your photos on Instagram @xameliax!
Any questions? Pop them in the comment section below!